Monday, July 25, 2011

Palm Springs Desert Wanderer


(Crop Top- Lush, Maxi Skirt- Urban Outfitters, Sandals-Red Kiss, Necklace-Forever 21)

Went on a mini vacation with my best friends to Palm Springs! This is what I wore on the way driving up! Found this spot in the desert and had to pull over and take some pictures! I'm in love with maxi skirts these days...so comfortable and can be worn in 100+ weather! Also, this top I helped pick out when I went on a buying trip for my internship at Tres Chic when we went to LA! All you San Diegans come check out the store!!! Some awesome new stufff!!

xoxooxo

Wednesday, July 13, 2011

Its a Party in the USA

As a College soccer player myself, I am So happy that America beat France today in the semi-finals of the women's World Cup! A perfect day to show some support and upload this photoshoot from the 4th of July! Go America! :)


(DIY- American Flag Shorts, see my last blog post!, Fringe bathing suit top-L*Space, Glitter wedges- Jeffrey Campbell, Bracelet- Forever 21, Turquoise bracelet- Hawaii)

Special thanks to my fabulous photographer Chanel Virissimo and for the styling photoshoot tips by Marli Sangervasi <3 you both!

Tuesday, July 12, 2011

DIY American Flag Shorts!

Step 1. Buy high waisted shorts. I found these at a thrift store for 2$! They were awkwardly long but i just cut them the lengh I wanted them to be!


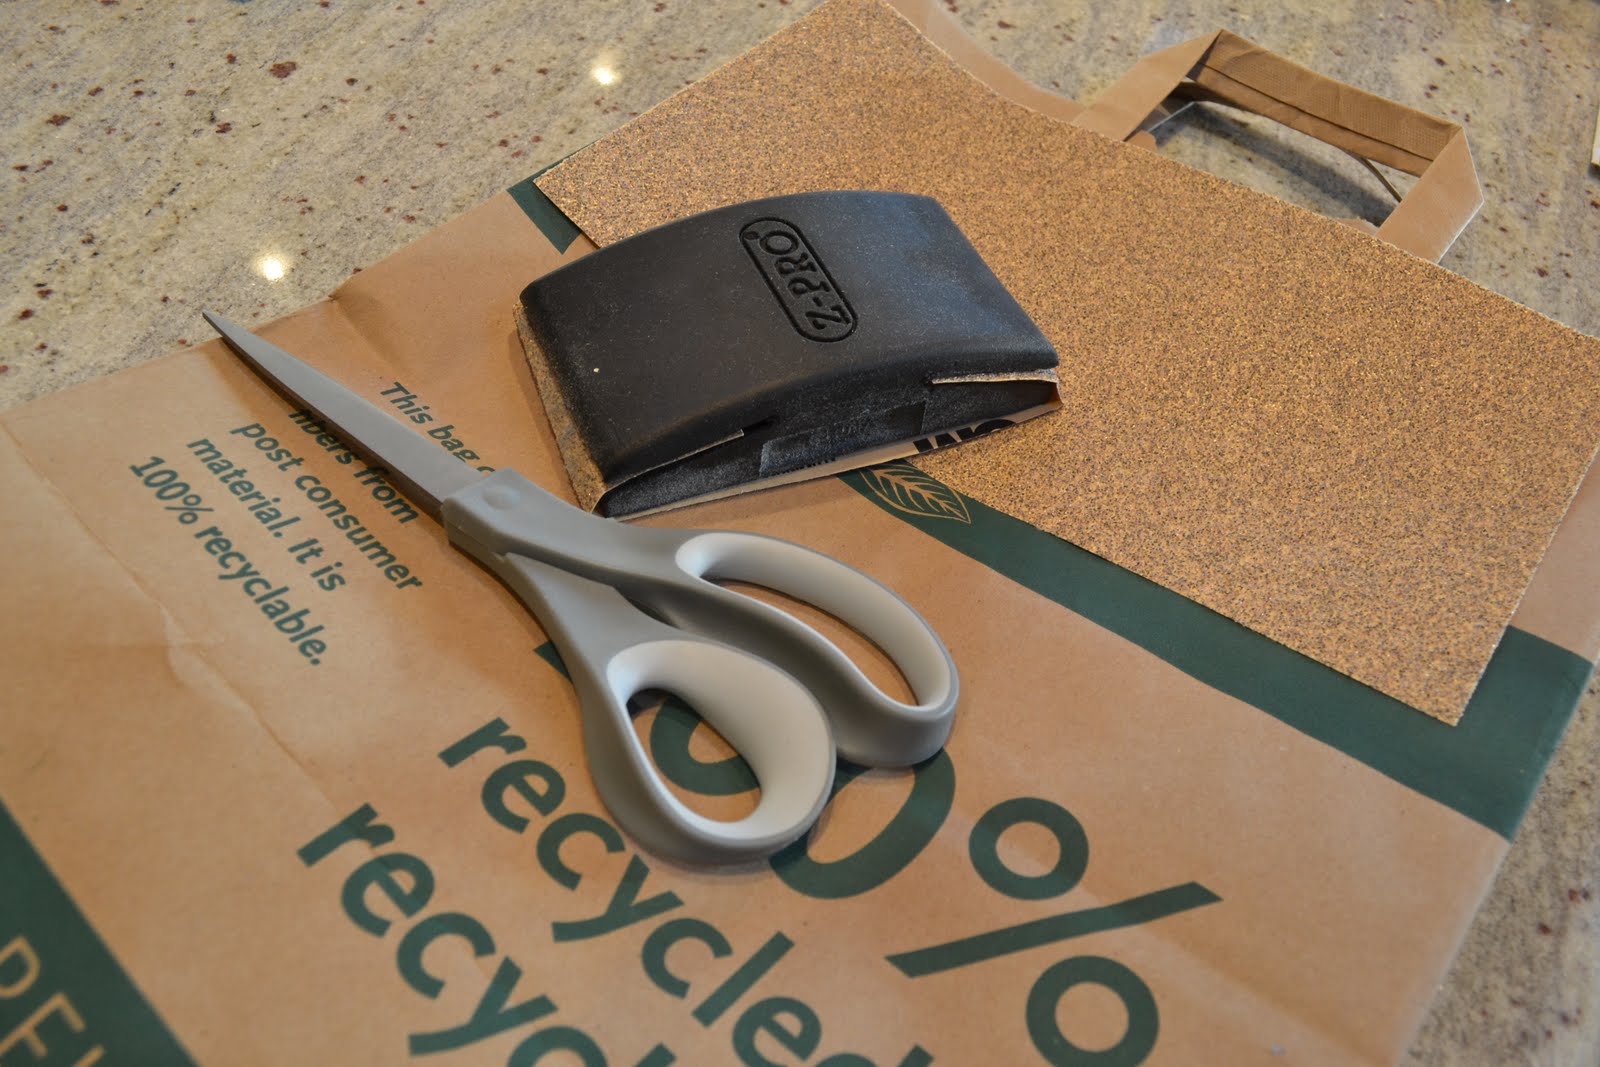
Step 2. Buy an american flag bandana or fabric and have scissors, a paper bag, sandpaper, and a sandpaper holder. Use the sandpaper on the holder to make a fringed torn up look on your shorts at the bottom or on whatever spots you prefer! Put them in the dryer to get a drastic look, then begin!
Step 3: Make two stencils out of the paper bags for the left and right side of the front of the shorts. It doesn't have to be perfect! Its just for a general idea to cut out the pattern! :) Do it for both sides as well as the pockets in the back.


Step 4: Buy Stich Withchery
Step 5: Iron the fabric to make sure there are not creases!
Step 6: Cut and place the stich withchery to all the spots you are about to be putting fabric on! Do one section at a time!


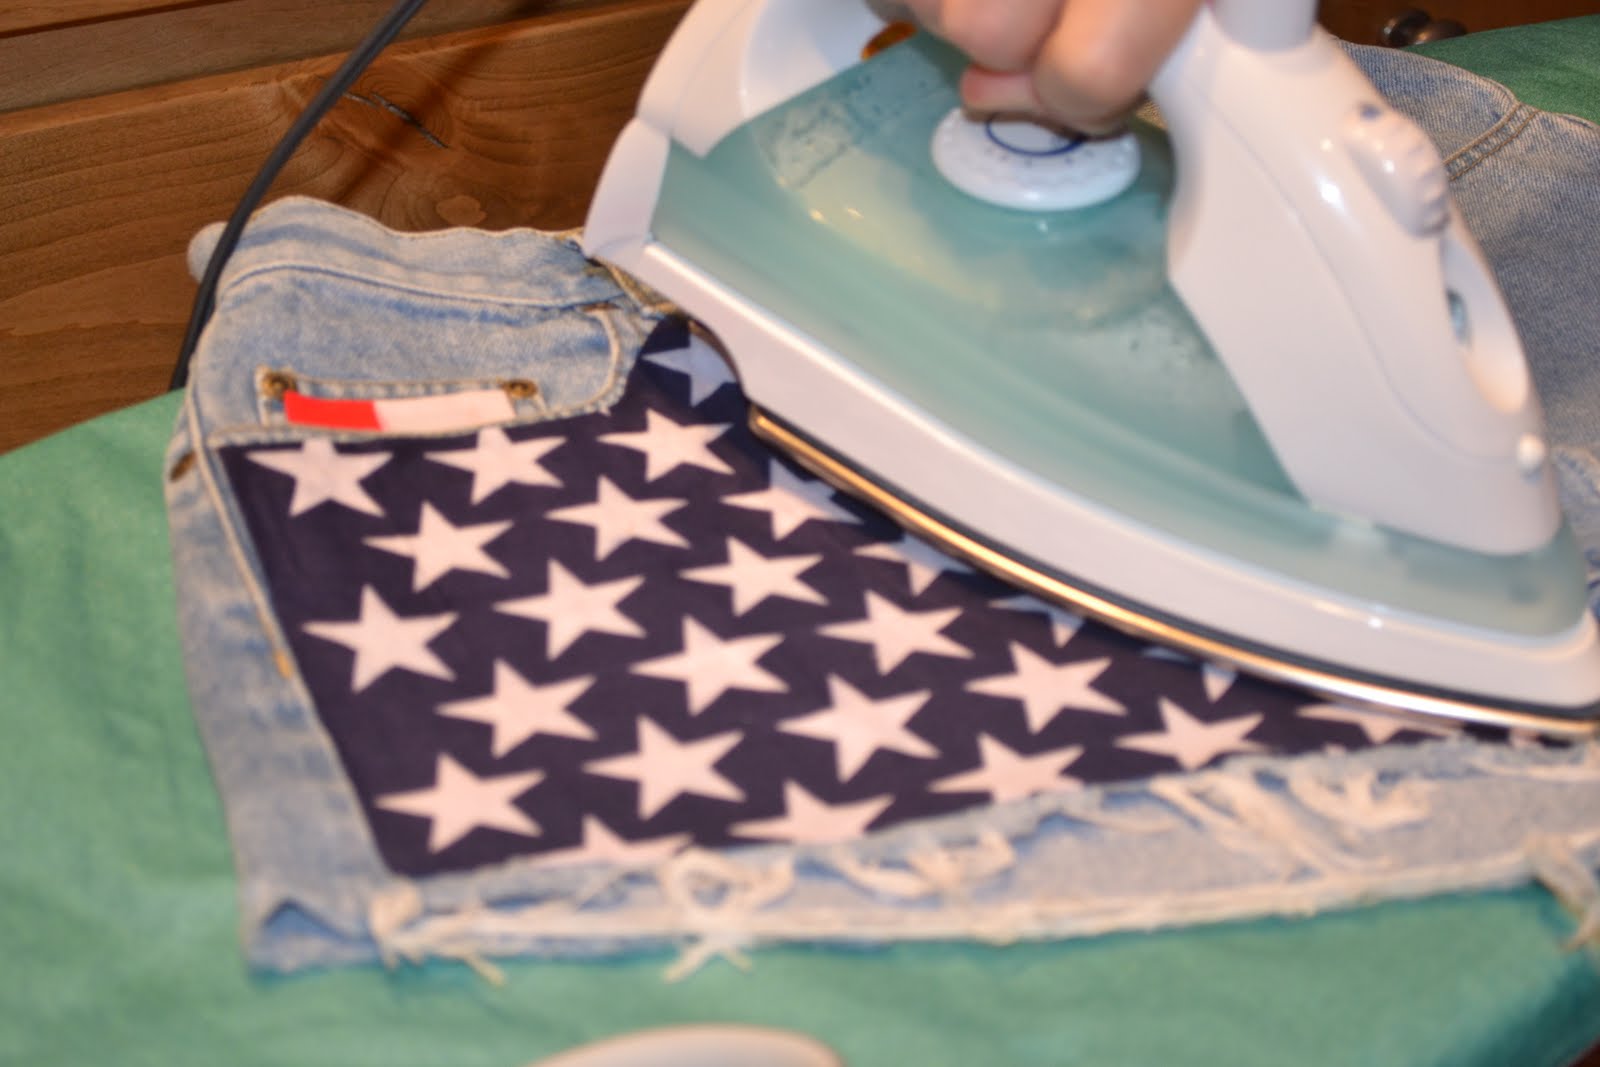
Step 7: Place the fabric ontop of the Stich Withcery and begin to push down firmly with your iron! Read the directions on the box for settings on your iron and how long to keep it on the fabric! Do the same steps for all sections!
Step 8: COMPLETE! GO OUT AND WEAR THEM! :)