
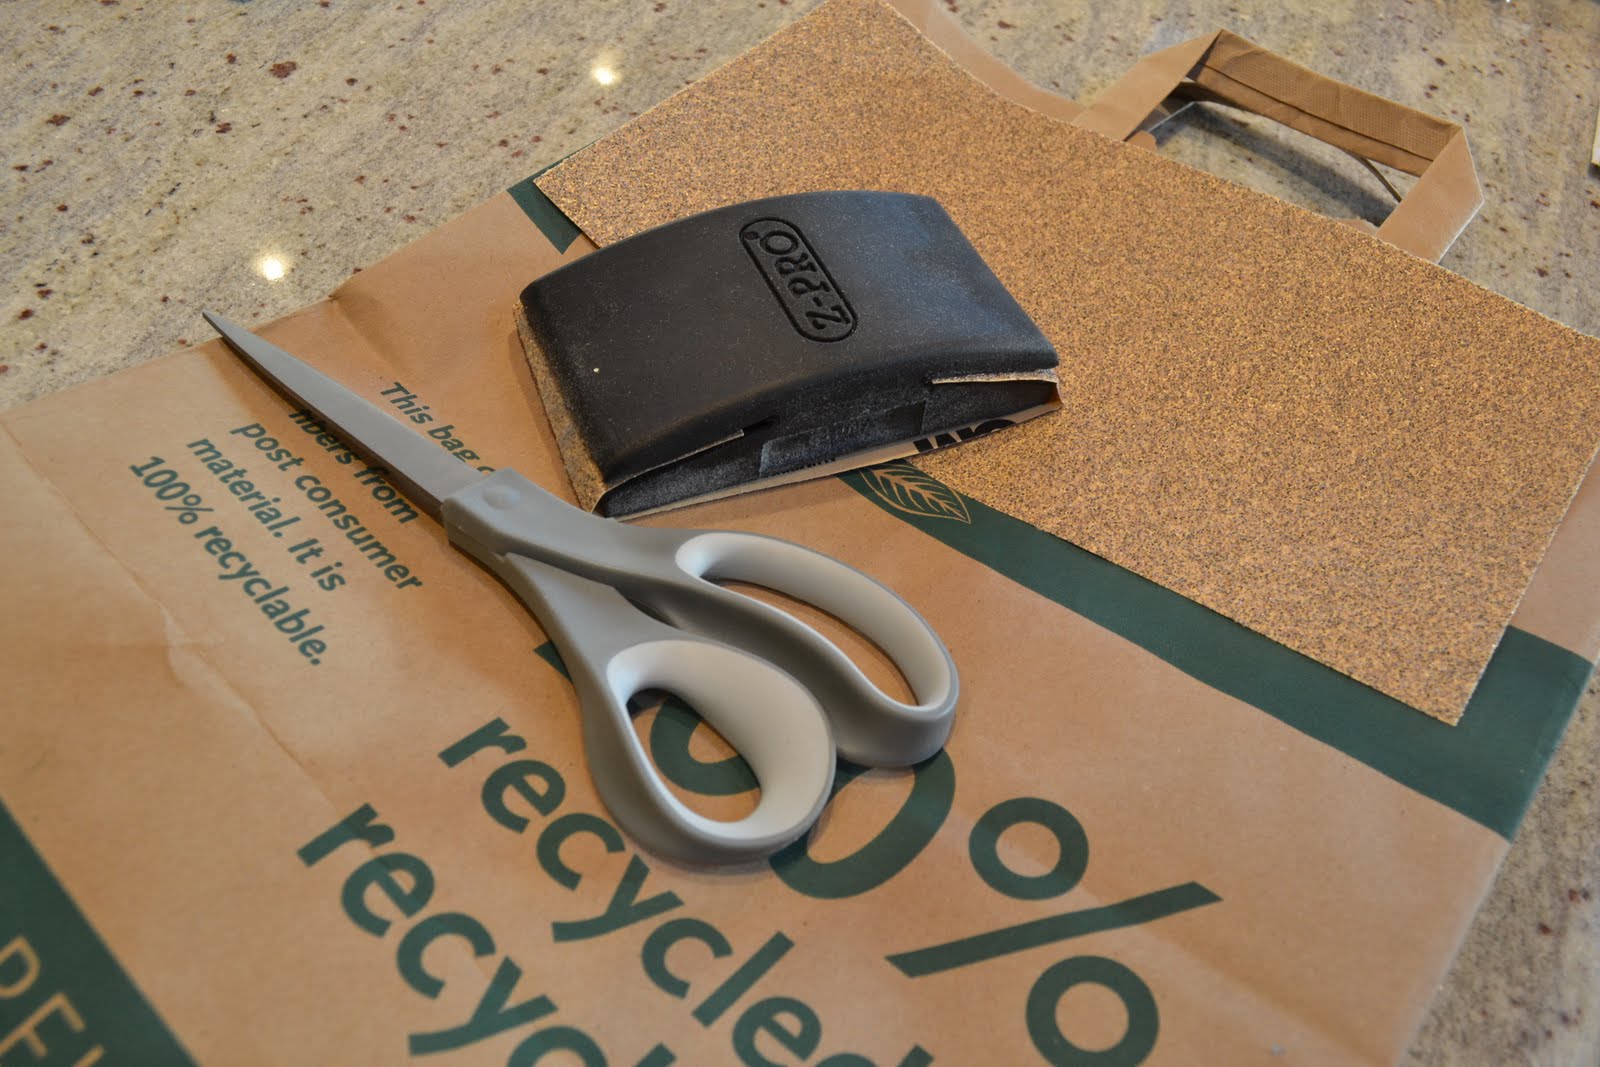
Step 2. Buy an american flag bandana or fabric and have scissors, a paper bag, sandpaper, and a sandpaper holder. Use the sandpaper on the holder to make a fringed torn up look on your shorts at the bottom or on whatever spots you prefer! Put them in the dryer to get a drastic look, then begin!
 Step 3: Make two stencils out of the paper bags for the left and right side of the front of the shorts. It doesn't have to be perfect! Its just for a general idea to cut out the pattern! :) Do it for both sides as well as the pockets in the back.


 Step 4: Buy Stich Withchery
 Step 5: Iron the fabric to make sure there are not creases!
 Step 6: Cut and place the stich withchery to all the spots you are about to be putting fabric on! Do one section at a time!
 Step 7: Place the fabric ontop of the Stich Withcery and begin to push down firmly with your iron! Read the directions on the box for settings on your iron and how long to keep it on the fabric! Do the same steps for all sections!
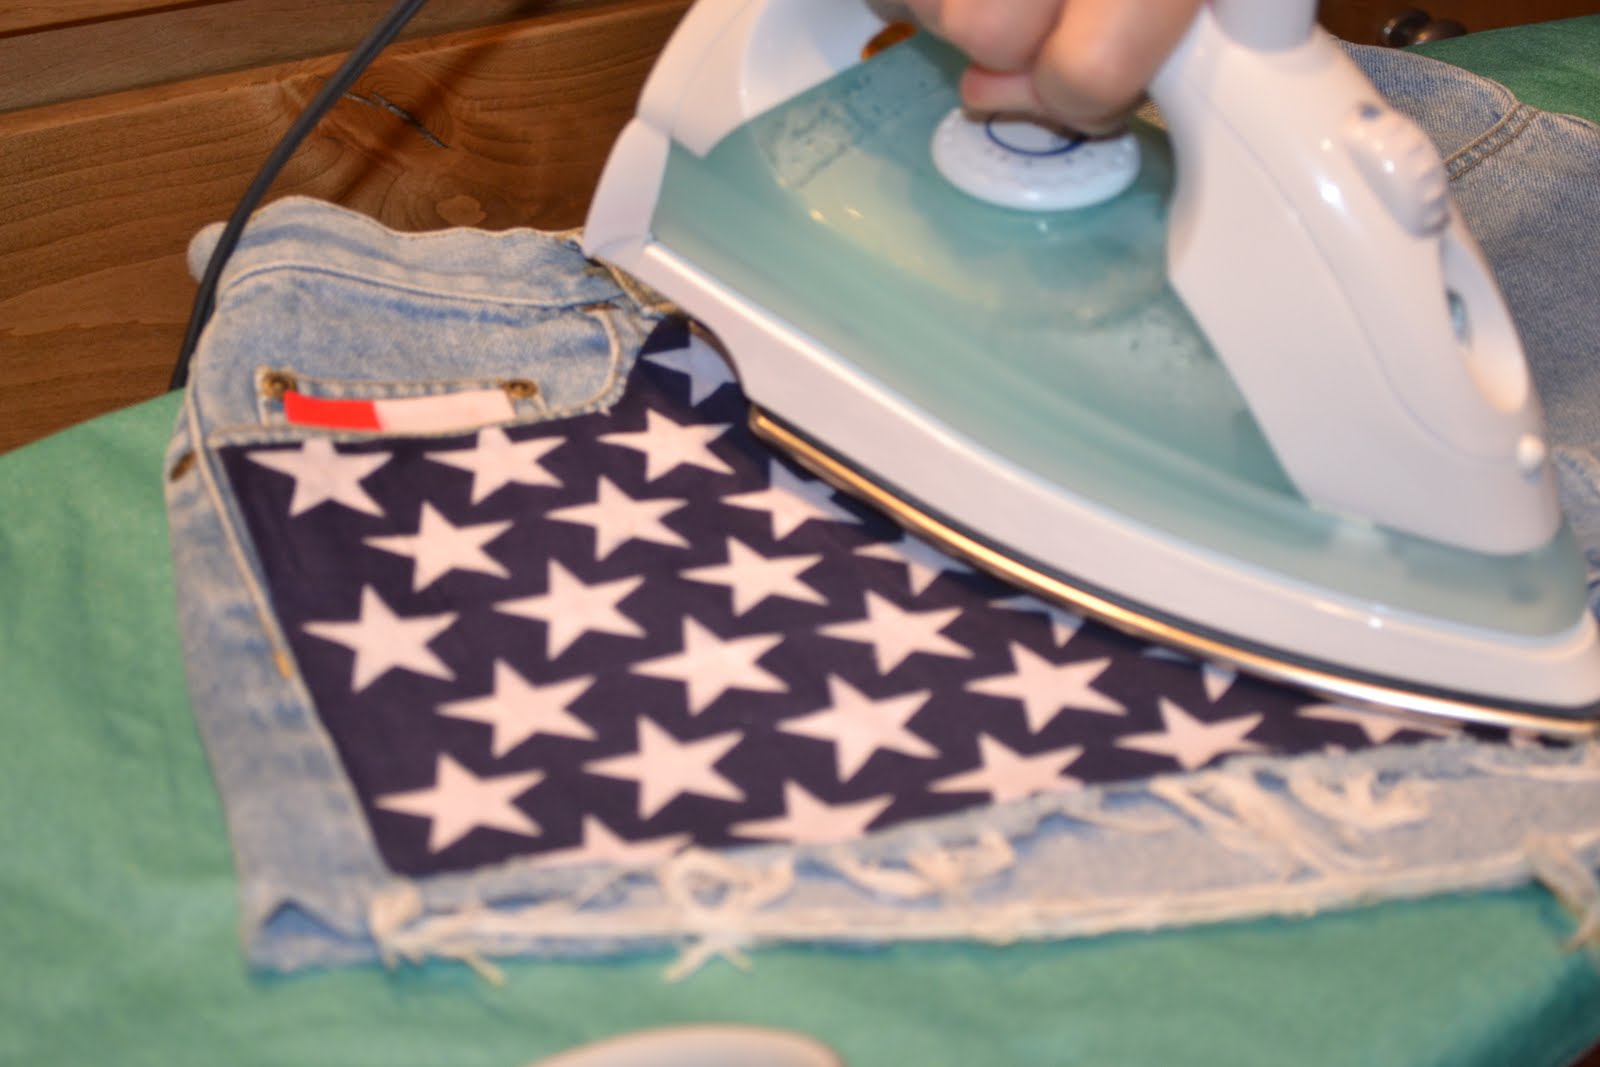 Step 8: COMPLETE! GO OUT AND WEAR THEM! :)

those turned out amazing!!!!! oh my gosh!!!
ReplyDeleteGahh Thankss Love!!! <3 Im so obsessed with them!
ReplyDeletePretty cool. :)
ReplyDeletewhere did you get the fabric?! i cant find any!
ReplyDelete